
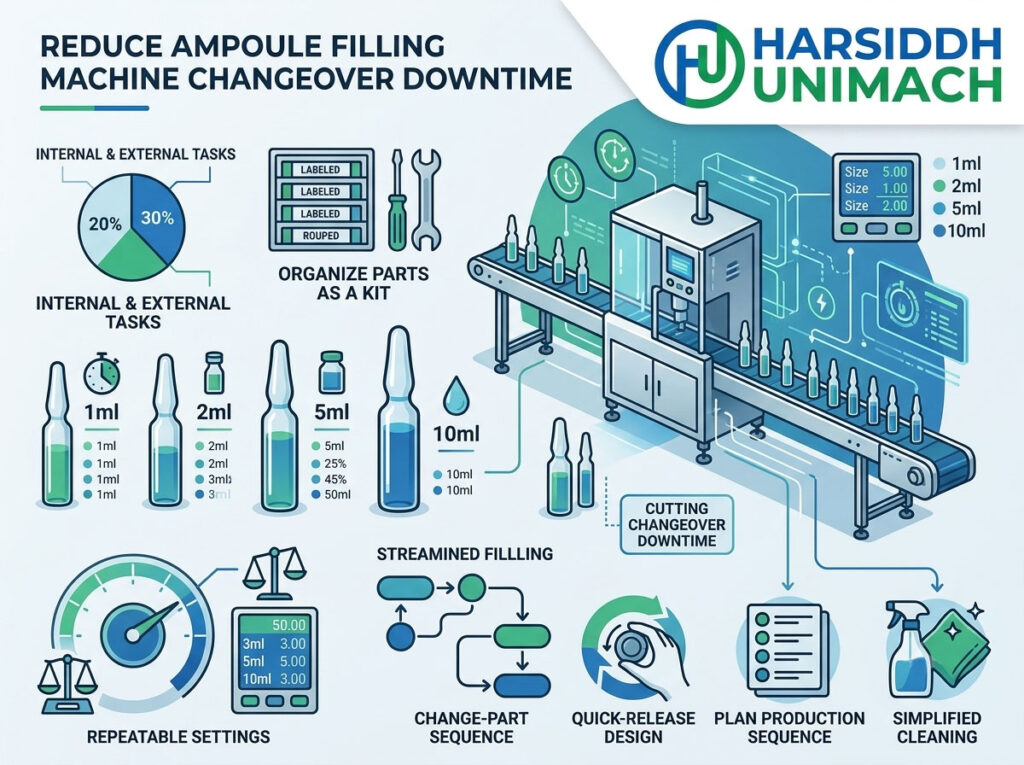
Ampoules remain one of the most widely used containers for small-volume injectables. Many plants fill a range of sizes, commonly from 1 ml to 10 ml or 20 ml, on the same line. Each size change means stopping production while the line is reconfigured: washer grippers and needles, tunnel guides, filler change parts, needle heights, dose settings, sealing burners and labeller settings all need attention.
Ampoule changeovers have one challenge that vial changeovers do not: flame sealing. Burner positions, flame intensity and gas settings must be correct for each ampoule size, and the seal quality must be verified before production resumes. If sealing is not right first time, the line can spend a long time on trial and adjustment, with rejected ampoules in the meantime.
This article explains how to reduce downtime when changing an ampoule filling line between sizes. It covers what changes on each machine, how to prepare, a line-wide sequence, burner setup, verification and the machine features that make changeovers faster.
For a detailed technical walkthrough of converting the filling and sealing machine itself, see our companion guide, mastering the changeover: the definitive guide to ampoule filling machine size conversion. This article takes a broader view of reducing downtime across the whole ampoule line.
Why Ampoule Changeover Downtime Matters
- Lost production time: every hour of changeover is an hour without output.
- Start-up losses: poor setup causes rejected ampoules while adjustments are made.
- Smaller batches: fast changeovers make shorter runs economical.
- Consistency: standardised changeovers reduce variation and the risk of sealing defects.
What Changes Between Ampoule Sizes
| Machine | Elements That Change | Notes |
|---|---|---|
| Ampoule washer | Grippers or holders, needles, infeed and outfeed parts | Needle height must suit ampoule length |
| Depyrogenation tunnel | Infeed and outfeed guides | Validated cycle for each size |
| Filling and sealing machine | Infeed hopper or trough, feed parts, needle height, dose, burner positions, flame settings | Most complex changeover |
| Ampoule opening station (closed ampoules) | Cutting and opening parts | Only for closed ampoules |
| Inspection | Holders and rotation settings | Visual inspection equipment |
| Labeller | Label roll, guides, wrap settings | Label length suits diameter |
Understanding the Filling and Sealing Machine Changeover
On a typical ampoule filling and sealing machine, the following must change or be adjusted for a new size:
- Infeed hopper or trough width and settings so ampoules feed smoothly
- Transport parts, such as star wheels, racks or index plates, matched to the ampoule diameter
- Filling needle height and stroke for the ampoule length and neck
- Dose volume, by pump stroke or servo setting
- Nitrogen settings, where used, for pre- and post-flushing
- Pre-heating burner position and flame
- Sealing burner position, flame intensity and gas mixture
- Ampoule rotation speed during heating, so the neck heats evenly
- Outfeed parts to the collection tray or conveyor
Machines such as an automatic four head ampoule filling and sealing machine or an eight head ampoule filling and sealing machine are designed with format parts for each ampoule size in their range.
Open vs Closed Ampoules
Open (funnel-neck) ampoules are filled and sealed directly. Closed ampoules arrive sealed and must be opened on the machine before filling, adding an opening station with its own size-specific settings. Machines such as an automatic six head closed ampoule filling and sealing machine or a six head closed ampoule filling and sealing machine include this capability. Browse our ranges of ampoule filling machines for open ampoules.
The SMED Approach for Ampoule Lines
SMED (Single-Minute Exchange of Die) separates changeover work into:
- Internal work: can only be done with the line stopped.
- External work: can be done while the previous batch is still running.
The aim is to move as much work as possible to external, then simplify what remains. On ampoule lines, the biggest gains usually come from:
- preparing all change parts in advance
- recording burner and dose settings for each size
- standardising the changeover sequence across the line
Our article on vial filling machine changeover best practices explains these principles in more depth, and most of them apply directly to ampoule lines.
Preparation Before the Line Stops
- Confirm the next format: ampoule size, product, label and coding data.
- Prepare a changeover trolley for each machine with all change parts for the new size, cleaned and, where required, sterilised.
- Prepare product-contact parts within their validated hold times.
- Stage components: new ampoules, labels and documents checked against the batch record.
- Review the setup sheet or recipe for each machine.
- Assign tasks to the team, so washer, filler and labeller changeovers can run in parallel where safe.
A Line-Wide Changeover Sequence
1. End of Batch and Line Clearance
- Stop ampoule supply and run the line empty.
- Remove all ampoules, labels and materials from the previous batch.
- Reconcile components and record.
2. Washer
- Change grippers or holders and infeed and outfeed parts.
- Set needle height for the new ampoule length.
- Check water and air settings.
Washers such as an automatic rotary ampoule washing machine, a rotary ampoule washing machine or, for smaller operations, a semi-automatic multijet ampoule washing machine each have their own format parts.
3. Depyrogenation Tunnel
- Adjust infeed and outfeed guides.
- Select the validated cycle for the new size on the sterilizing tunnel for ampoules and vials.
4. Filling and Sealing Machine
- Change product-contact parts if the product is changing.
- Fit format parts for the new ampoule.
- Set needle height and dose.
- Set nitrogen flushing where used.
- Position burners and set flame for the new size (see below).
5. Inspection and Labelling
- Adjust inspection holders and rotation.
- Change label roll and set labeller guides and wrap settings.
6. Verification and Release
- Run test ampoules and check fill volume, sealing and labelling.
- Complete line clearance verification with a second person.
- Record settings and release the line.
Burner Setup: The Key to Fast Ampoule Changeovers
Sealing is where ampoule changeovers most often lose time. Good practice includes:
- Record burner positions for each size, using scales or fixed stops on burner mounts.
- Record gas flow settings for each size and flame type.
- Allow burners to stabilise before testing.
- Check flame shape and colour against a reference.
- Confirm ampoule rotation during heating is even.
- Use a setup sheet with photographs of correct burner positions and a correctly sealed ampoule.
Larger ampoules have thicker necks and need more heat; smaller ampoules need less to avoid overheating. Settings that work for one size rarely work for another without adjustment.
Verifying Seal Quality After Changeover
Before production resumes, confirm that seals meet requirements:
- Visual inspection: tip shape, no thin spots, no carbon deposits, no fine capillaries (“hair” seals) or bubbles in the glass.
- Leak testing: according to your procedures, which may include dye ingress or other methods.
- Ampoule length after sealing, where specified.
Continue checking seals at defined intervals during production. A visual ampoule and vial inspection machine supports inspection of filled ampoules for particles and defects.
Nitrogen Flushing and Changeover
Where nitrogen is used, flushing settings may differ by ampoule size. Larger ampoules have more headspace. Record nitrogen flow and timing for each size, and check them after changeover. Our article on how nitrogen flushing improves sterility and stability in ampoule filling machines explains the principles.
Labelling Changeover
Ampoule labels must suit the circumference and length of each size. Horizontal and rotary ampoule labellers, such as an automatic horizontal ampoule sticker labeling machine or a rotary ampoule sticker labeling machine, need guide, roller and label settings adjusted for each size. See our article on the ampoule labeling machine working principle.
Machine Features That Reduce Changeover Downtime
| Feature | Benefit |
|---|---|
| Tool-less, marked format parts | Fast, error-free part changes |
| Scales and fixed stops on burners | Repeatable burner positioning |
| Servo dose setting with recipes | Quick, accurate dose changes |
| Adjustable needle height with scales | Fast needle setup |
| Integrated line controls | Coordinated start-up |
| Spare product-contact part sets | Offline cleaning and sterilisation |
An integrated automatic ampoule filling line brings washing, depyrogenation, filling and sealing together, so the format range and changeover are planned for the whole line.
Building an Ampoule Setup Sheet
A setup sheet for each ampoule size is the foundation of fast, repeatable changeovers. It should record, for every machine:
| Machine | Settings to Record |
|---|---|
| Washer | Format part codes, needle height, water and air settings |
| Tunnel | Guide settings, validated cycle reference |
| Filler | Format part codes, needle height, dose setting, nitrogen flow and timing |
| Sealing station | Pre-heat and sealing burner positions, gas flows, rotation speed |
| Labeller | Label code, guide settings, wrap settings, coder position |
| Reference | Photographs of correct burner positions and a correctly sealed and labelled ampoule |
Store setup sheets at the line, control them as GMP documents and update them whenever machines, components or label designs change. Where machines support recipes, enter the same values into the recipe and use the sheet as the reference for manual settings.
Training and Teamwork
Ampoule changeovers involve several machines and skills, from mechanical part changes to burner setup. Train operators on each machine and cross-train them so tasks can be done in parallel. Burner setup in particular benefits from experience; pair less experienced operators with skilled ones and use the setup sheet and reference photographs to build consistency. After each changeover, a short review of what went well and what caused delays helps the team improve steadily.
Planning to Reduce Changeovers
- Group products by ampoule size to reduce the number of size changes.
- Schedule size changes when maintenance or cleaning is planned anyway.
- Standardise on fewer ampoule sizes where product requirements allow.
Our ampoule filling machine buyer’s guide explains how to choose a machine that covers your size range.
Measuring and Improving
Track each changeover:
- total time from last good ampoule to first good ampoule
- time per machine and per task
- start-up rejects, especially sealing rejects
- issues encountered
Review results with the team and target the longest activities.
Common Mistakes
- Adjusting burners by eye without recorded settings
- Not allowing burners to stabilise before testing
- Forgetting to reset needle height for the new ampoule length
- Leaving ampoules or labels from the previous batch on the line
- Running at full speed before seal quality is confirmed
- Changing machines one at a time instead of in parallel
Frequently Asked Questions
Why do ampoule changeovers take longer than vial changeovers? Flame sealing must be set up and verified for each size, adding steps that vial lines do not have.
Can one machine fill all ampoule sizes? Most machines cover a defined range with appropriate change parts. Confirm the range with your supplier.
How do I make burner setup repeatable? Record burner positions and gas settings for each size, use scales or fixed stops, and keep a setup sheet with reference photographs.
What should be checked before releasing the line? Fill volume, seal quality, labelling, line clearance and a second-person verification.
Do closed ampoules make changeovers more complex? Yes, because the opening station must also be set for each size.
Reduce Ampoule Changeover Downtime With Harsiddh
Harsiddh Unimach manufactures ampoule washers, sterilising tunnels, open and closed ampoule filling and sealing machines, labellers and complete ampoule lines designed for practical, repeatable changeovers. Our team can recommend change parts, setup methods and training for your ampoule range.
Contact us through our contact page or send your requirements through our inquiry form.