
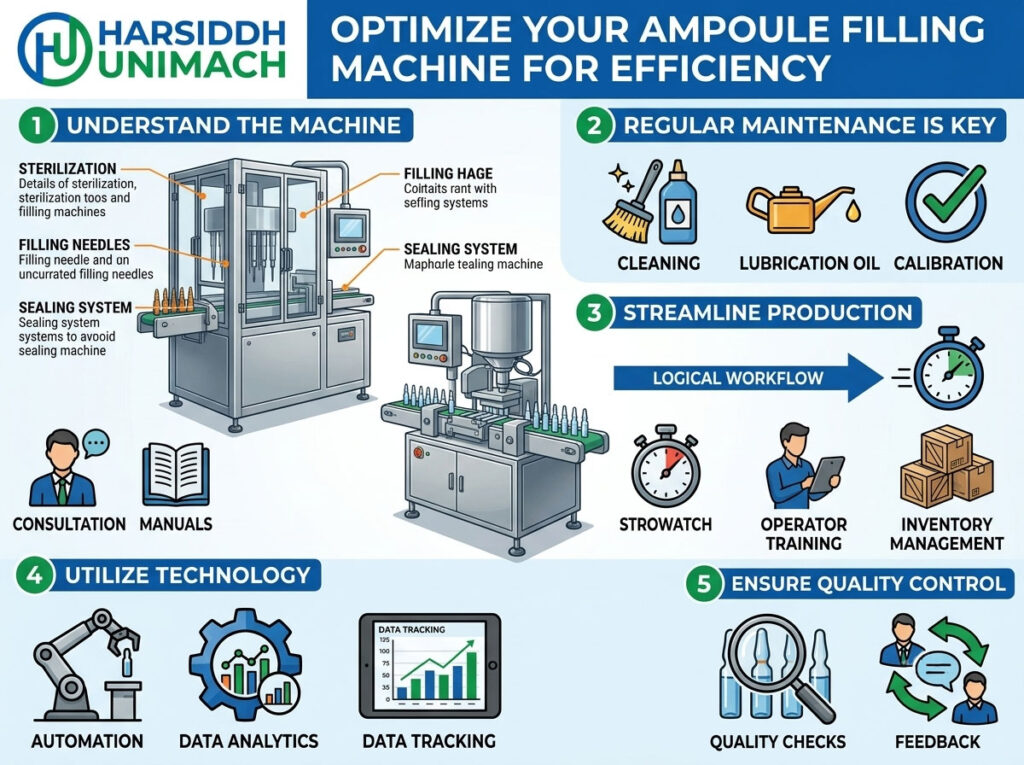
Many pharmaceutical plants run ampoule filling lines that are capable of far more than they currently deliver. The machines are sound, the operators are skilled, yet output falls short of the rated capacity, reject bins fill up with cracked or poorly sealed ampoules, and changeovers take longer than anyone would like.
Optimizing an ampoule filling line is rarely about one big change. It is about understanding where time and product are lost, fixing the biggest losses first and building habits that keep the line performing day after day.
This guide takes a practical, step-by-step approach. We show how to measure line performance, then work through the main loss areas, availability, speed and quality, with specific actions for ampoule filling and sealing. For a look at how modern machine technology supports efficiency, read our companion article on optimizing efficiency with modern ampoule filling machines.
Step 1: Measure Before You Change Anything
You cannot improve what you do not measure. The most widely used measure of line performance is Overall Equipment Effectiveness (OEE), which combines three factors:
| OEE Factor | What It Measures | Typical Losses on Ampoule Lines |
|---|---|---|
| Availability | Time the line is actually running versus planned time | Changeovers, breakdowns, waiting for materials, cleaning |
| Performance | Actual speed versus rated speed while running | Running below rated speed, micro-stops, jams |
| Quality | Good ampoules versus total ampoules produced | Fill rejects, sealing defects, breakage, inspection rejects |
OEE is calculated by multiplying the three factors together. A line can look busy all day and still have low OEE if it runs slowly, stops frequently or produces many rejects.
What to record
- Planned production time per shift
- Every stoppage: start time, end time, reason
- Line speed during running periods
- Total ampoules produced and total rejected, by reject reason
- Changeover start and finish times
An illustrative OEE example
The numbers below are purely illustrative, to show how OEE works, not typical values for any particular line:
| Factor | Illustrative Value |
|---|---|
| Availability | 80% |
| Performance | 85% |
| Quality | 95% |
| OEE | 0.80 × 0.85 × 0.95 ≈ 64.6% |
In this example, improving availability from 80% to 90%, for instance by shortening changeovers and preventing breakdowns, would raise OEE to about 72.7%, with no change to speed or quality. Improving performance from 85% to 95% would give about 72.2%. Raising quality from 95% to 98% would give about 66.6%. Calculations like this show which improvement delivers the most benefit on your line, so you can focus effort where it counts.
A simple shift log is enough to start. Over a few weeks, patterns become clear, and you will know which losses to tackle first.
Step 2: Reduce Changeover Time
On multi-product lines, changeovers between ampoule sizes or products are often the single biggest availability loss.
Separate internal and external tasks
- External tasks can be done while the line is still running: preparing change parts, checking tools, staging materials and printing documentation.
- Internal tasks can only be done when the line is stopped: removing and fitting parts, cleaning and adjusting.
Moving as much work as possible to external time often cuts changeover duration significantly without any equipment changes.
Standardise the process
- Written, illustrated changeover procedures
- Colour-coded or numbered change parts stored in dedicated carts
- Height scales and reference marks for repeatable adjustment
- Pre-set burner and nozzle positions recorded for each ampoule size
- A checklist signed at each step
Use machine features
Servo-driven machines allow settings to be stored as recipes and recalled at changeover. Quick-release parts reduce tool use. For detailed guidance, read ampoule filling machine changeover: how to reduce downtime between different ampoule sizes.
Step 3: Prevent Breakdowns
Breakdowns are the other major availability loss. Most can be prevented with a disciplined maintenance programme.
Daily operator checks
- Inspect filling needles and sealing burners
- Check gas and oxygen pressures and flame appearance
- Confirm nitrogen supply pressure, where used
- Listen for unusual noises from drives and pumps
- Clean glass fragments and spilled product
Planned maintenance
- Replace pump seals, valves and tubing on schedule
- Inspect and lubricate drives, cams and bearings
- Check star wheels, transfer parts and guides for wear
- Calibrate sensors and controls
Learn from every failure
Record each breakdown, its cause and the fix. Look for repeat failures and address the root cause rather than repeatedly repairing the symptom.
Our ampoule filling machine maintenance checklist lists the critical components to inspect regularly.
Step 4: Remove Micro-Stops and Run at the Right Speed
Micro-stops, brief stoppages of a few seconds to a few minutes, often go unrecorded, yet together they can cost a surprising amount of output.
Common causes on ampoule lines
- Ampoules jamming at the infeed or transfer points
- Ampoules falling over or tipping in the infeed tray
- Broken ampoules blocking the path
- Upstream supply gaps from the washer or sterilizing tunnel
- Downstream back-ups at inspection or labelling
Actions
- Check that ampoules from the tunnel arrive evenly and at the right temperature
- Inspect infeed trays, scroll and transfer parts for wear or misalignment
- Ensure change parts match the ampoule size exactly
- Balance speeds across washer, tunnel, filler, inspection and labelling
- Add small buffers between machines to absorb short stoppages
Running speed
Many lines run below rated speed “to be safe” because of past problems with breakage or sealing. Once the root causes are fixed, speed can often be increased step by step while monitoring quality.
Step 5: Improve Fill Accuracy
Fill accuracy affects both quality and cost. Overfilling wastes product; underfilling causes rejects.
Key actions
- Stable product supply – keep the product reservoir level and pressure steady
- Pump condition – check piston pumps, valves and seals regularly; for peristaltic systems, replace tubing on schedule
- Air in lines – bleed air from product lines at start-up and after interruptions
- Needle alignment – make sure needles enter the ampoule centrally without touching the neck
- Dripping – adjust suck-back or cut-off to prevent drops on the ampoule neck, which cause sealing defects
- Regular checks – weigh sample ampoules at defined intervals and trend the results
Servo-driven dosing allows fine adjustment of each head and stored fill settings. Read about servo technology in modern ampoule filling machines.
Step 6: Improve Sealing Quality
Sealing defects are one of the most common reject reasons on ampoule lines. Typical defects include:
- Open or incompletely sealed tips
- Fat or bulbous tips from too much glass at the seal
- Thin or weak tips that crack
- Burnt product or charring at the tip
- Uneven tip height or shape
Key actions
- Correct gas and oxygen ratio – an incorrect mix gives a flame that is too cool or too hot
- Clean burners – blocked burner holes create uneven heating
- Burner position – correct height and distance from the ampoule neck
- Ampoule rotation – steady rotation during heating for even melting
- Clean necks – no product droplets on the neck, which cause poor seals and charring
- Nitrogen flushing – where used, correct nitrogen flow protects oxygen-sensitive products without disturbing the flame
For more on nitrogen, read how nitrogen flushing improves sterility and stability in ampoule filling machines.
Step 7: Reduce Breakage
Glass breakage wastes product, contaminates the machine and creates safety hazards.
Causes and solutions
| Cause | Solution |
|---|---|
| Thermal shock from hot ampoules | Ensure proper cooling after the sterilizing tunnel |
| Worn or wrong change parts | Replace worn parts, use the correct size parts |
| Misaligned transfers | Re-time and align star wheels and scrolls |
| Excessive speed | Optimise speed after fixing root causes |
| Poor-quality ampoules | Work with suppliers on dimensional consistency |
| Glass fragments left in the machine | Clean thoroughly after any breakage |
Step 8: Optimize the Whole Line, Not Just the Filler
The filler can only perform as well as the line around it. Look upstream and downstream:
- Washing – a reliable washer such as the rotary ampoule washing machine delivers a steady flow of clean ampoules. See the full range of ampoule washing machines.
- Depyrogenation – the sterilizing tunnel for ampoules and vials must deliver ampoules at the right rate and temperature.
- Inspection – the visual ampoule and vial inspection machine should keep pace with the filler.
- Labelling – the horizontal ampoule sticker labelling machine and other labeling machines for ampoules must match line speed.
The slowest machine sets the pace for the whole line. Identify it and focus improvements there.
Step 9: Choose the Right Machine for Your Output
Sometimes optimisation reveals that the existing machine is simply not suited to current demand. Options include:
- Moving from fewer to more filling heads for higher output
- Choosing servo-based machines for flexibility and accuracy
- Adding a second line for high-volume products to free the first for smaller batches
Compare head configurations in ampoule filling and sealing machines comparison: single head, 2 head, 4 head and 6 head models. Machine options include the Automatic Eight Head Ampoule Filling and Sealing Machine, the Automatic Servo Based Ampoule Filling and Sealing Machine, the four head ampoule filling and sealing machine, the six head ampoule filling and sealing machine and the eight head ampoule filling and sealing machine. Browse all ampoule filling machines.
Step 10: Build a Continuous Improvement Routine
Optimisation is not a one-off project. Sustain the gains with:
- Daily performance reviews – a short meeting at shift start reviewing yesterday’s output, stoppages and rejects
- Visual boards – OEE, top losses and actions displayed at the line
- Root cause analysis – for recurring problems, using simple tools such as “5 Whys”
- Operator involvement – operators often know the causes of losses best
- Training – keeping skills up to date, especially for changeovers and burner settings
- Regular audits – checking that standards are being followed
Prioritising Your Improvement Actions
Once you have a few weeks of data, rank your losses by their impact on output and cost. A simple way is to list every loss category, such as changeovers, breakdowns, micro-stops, slow running, fill rejects, sealing rejects and breakage, and record the time or ampoules lost to each. The top two or three categories usually account for most of the loss.
Then, for each top loss:
- Identify the root causes with the operators and engineers who work on the line
- Choose actions that are practical, low-cost and quick to implement first
- Assign an owner and a target date for each action
- Measure the result and confirm that the loss has really reduced
- Standardise the improvement in procedures and training
Repeating this cycle steadily raises performance without the need for major investment.
Quick Wins Checklist
- Start recording every stoppage and reject reason
- Prepare changeover parts and materials before stopping the line
- Clean and inspect burners at every shift start
- Check gas, oxygen and nitrogen pressures daily
- Replace worn change parts
- Bleed air from product lines at start-up
- Balance speeds between the washer, tunnel and filler
- Review reject bins daily and act on the top reason
Compliance Considerations
All optimisation work must stay within GMP. Changes to validated settings, such as fill volumes, sealing parameters, speeds or nitrogen flow, should go through change control and, where necessary, revalidation. Involve quality assurance early so improvements can be implemented smoothly.
Frequently Asked Questions
How can I improve the efficiency of my ampoule filling line? Measure OEE, then reduce changeover time, prevent breakdowns, remove micro-stops, improve fill accuracy and sealing quality, and reduce breakage.
What causes most sealing defects? Incorrect gas and oxygen settings, dirty or misaligned burners, uneven ampoule rotation and product droplets on the neck.
How can changeover time be reduced? Prepare as much as possible while the line is running, standardise procedures, organise change parts and use recipe-based settings on servo machines.
Why do ampoules break during filling? Common causes are thermal shock, worn or wrong change parts, misaligned transfers, excessive speed and inconsistent ampoule dimensions.
Do optimisation changes need revalidation? Changes to validated parameters must go through change control and may need revalidation.
Want help optimizing your ampoule filling line? Contact our team or send an inquiry to discuss your current performance and improvement goals.